

This lesson is made with PSPX9
But is good with other versions.
© by SvC-Design

Materialen Download :
Here
******************************************************************
Materials:
sg_fancy-boxes.jpg
DECO PERSO 1 165 .png
SELECTION 1 165 .PspSelection
SELECTION 2 165 .PspSelection
SELECTION 3 165 .PspSelection
SELECTION 4 165.PspSelection
SELECTION POUR LA DECO 1 .PspSelection
0ef99dca-a5d9-4932-b85d-116d29240df7.jpg
OCTOBRE 2021 SORCIERE 2 03 10 SWEETY.png
******************************************************************
Plugin:
Plugin – alien skin - Eye Candy 5 Impact - Glass
Plugins - Carolaine and sensibility - CS-Texture
Plugin - Toadies - What Are You?
Plugin - MuRa’s Seamless - Emboss At Alpha
Plugin - Carolaine and sensibility… CS-Halloween2
Plugin - VM Toolbox - Zoom Blur
plugin - MuRa’S Meister - Perspective tiling
******************************************************************
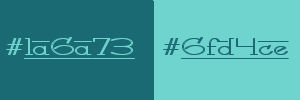
color palette
:
******************************************************************
methode
When using other tubes and colors, the mixing mode and / or layer coverage may differ
******************************************************************
General Preparations:
First install your filters for your PSP!
Masks: Save to your mask folder in PSP, unless noted otherwise
Texture & Pattern: Save to your Texture Folder in PSP
Selections: Save to your folder Selections in PSP
Open your tubes in PSP
******************************************************************
We will start - Have fun!
Remember to save your work on a regular basis
******************************************************************
Foreground : 1a6a73
Background: 6fd4ce
1.
Open a transparent layer of 950x600 pixels
Selection - Select All
Open 0ef99dca-a5d9-4932-b85d-116d29240df7.jpg
Edit – Copy
Edit - Paste into selection
Selection - Select None
2
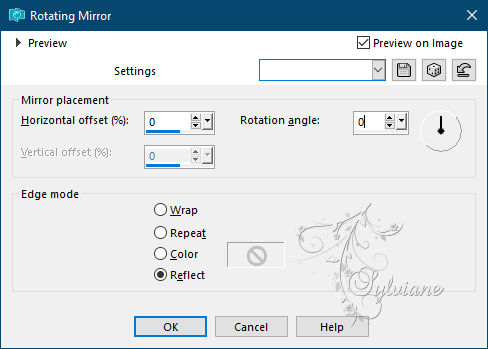
Effects – reflection effects – rotating mirror
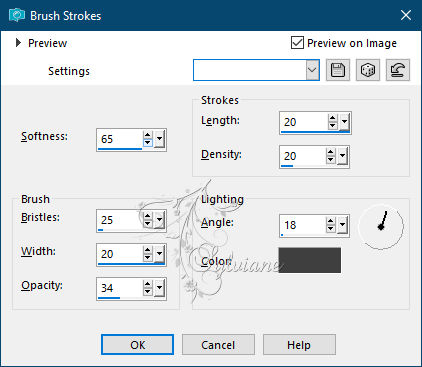
Effects – art media effects – brush strokes (Color 3: # 404040)
Layers - New raster layer
Paint this layer with the color of the 1st or 2nd plane, if your background is dark
Layers - New Mask Layer - From Image - sg_fancy-boxes.jpg

Layers - Merge - Merge Group
3.
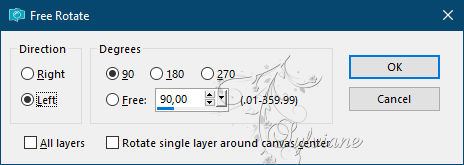
Image - Free rotate
We have this:

Activate the Selection tool (K on the keyboard), and stretch the side nodes to the right and left. Look at the capture

Press M to deactivate the Selection tool
Activate the bottom layer
Selection - Select All
Image – crop to selection
4.
Stay on Group - Raster 2
Selections - Load / Save - Load selection from disk - SELECTION 1 165 .PspSelection

Edit ... Delete (or press Delete on your keyboard)
Selections - Load / Save - Load selection from disk - SELECTION 2 165 .PspSelection

Layers… New raster layer
Layers – arrange – move down
Open 0ef99dca-a5d9-4932-b85d-116d29240df7.jpg
Edit – Copy
Edit - Paste into selection
Selection - Select None
Layers - Duplicate
Image - Mirror - Horizontal Mirror
Layers - Merge - Merge Down
5
Stay on Raster 2
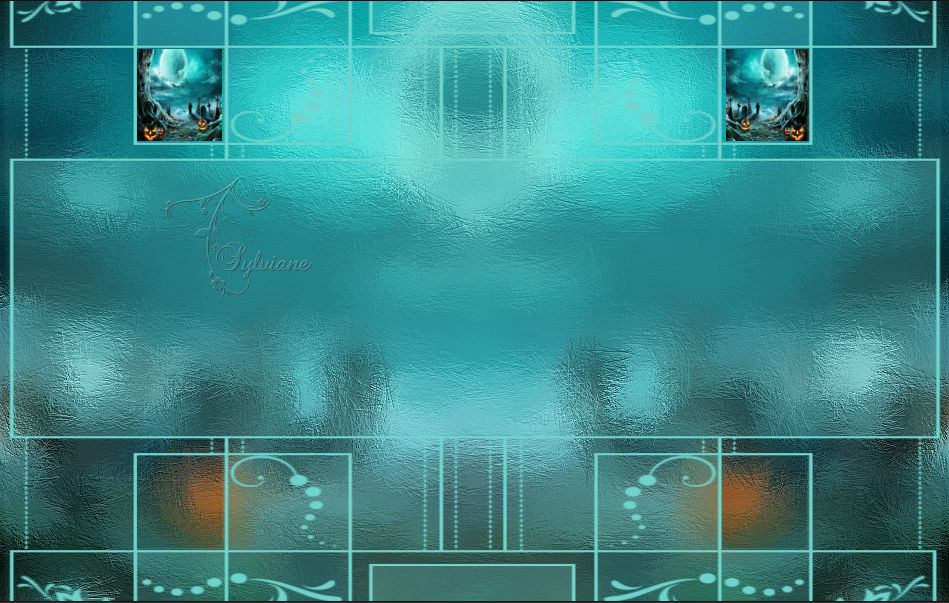
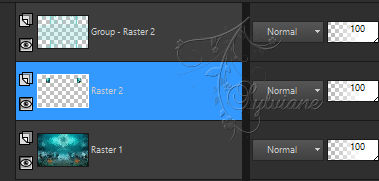
Layers - Duplicate
Effects - Image Effects - Offset
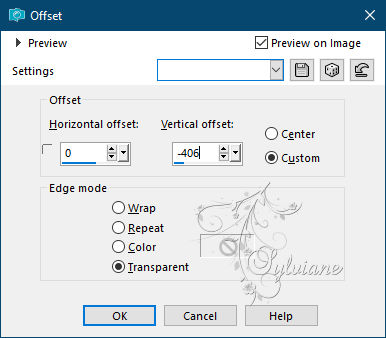
Layers - Merge - Merge Down
Selections - Load / Save - Load selection from disk - SELECTION 1 165 .PspSelection

Plugin – alien skin - Eye Candy 5 Impact - Glass
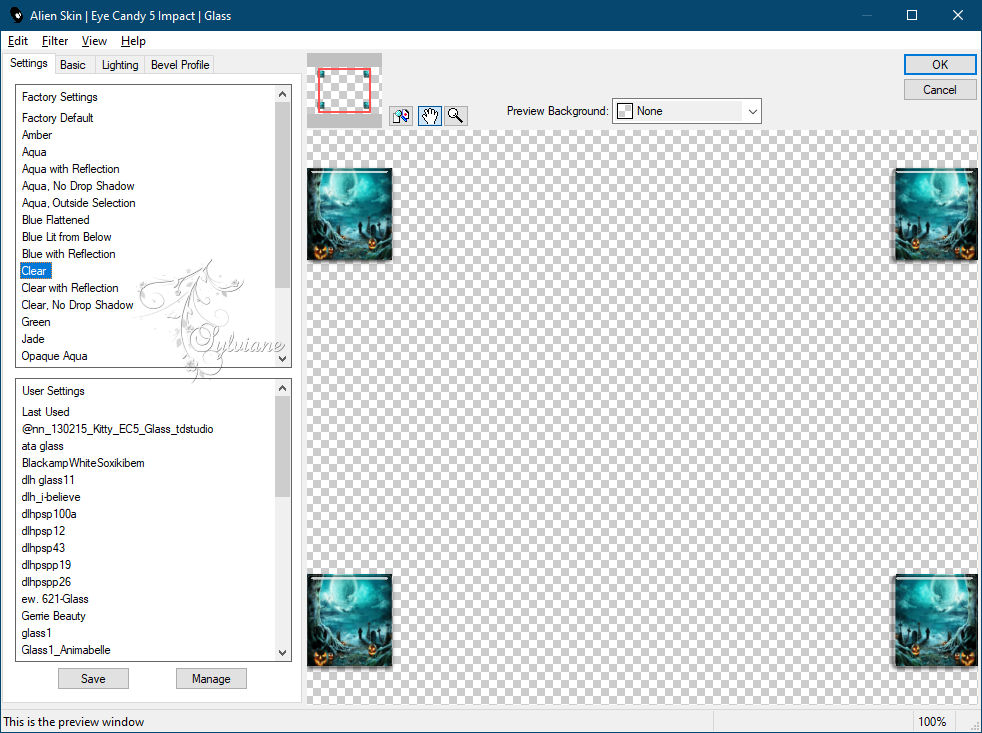
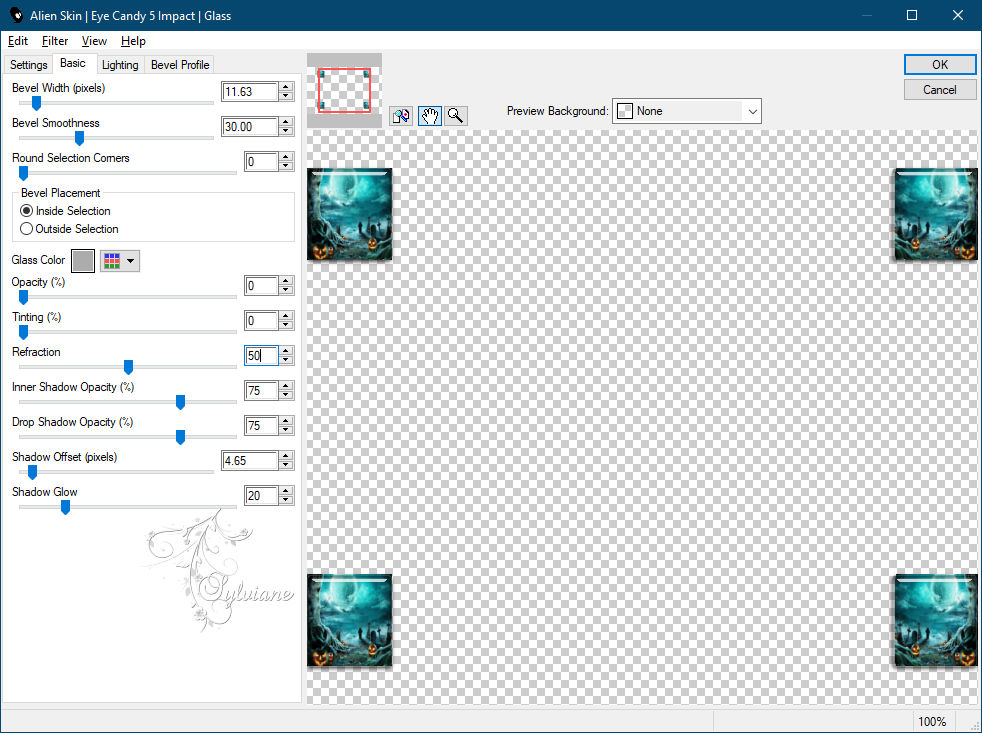
Selection - Select None
6
Activate Group - Raster 2
Selections - Load / Save - Load selection from disk - SELECTION 3 165 .PspSelection

Edit ... Delete (or press Delete on your keyboard)
Activate Raster 1
Selections – Promote selections to layer
Selection - Select None
Activate Selection - Custom selection
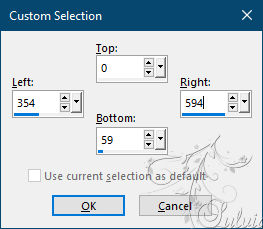
Edit ... Delete (or Delete on your keyboard)
Selection - Select None
Layers - Duplicate
Activate selection tool (Press K on your keyboard)
And enter the following parameters:
Pos X : 374 – Pos Y : -2
Press M.
Layers - Merge - Merge Down
7
Now we have this:
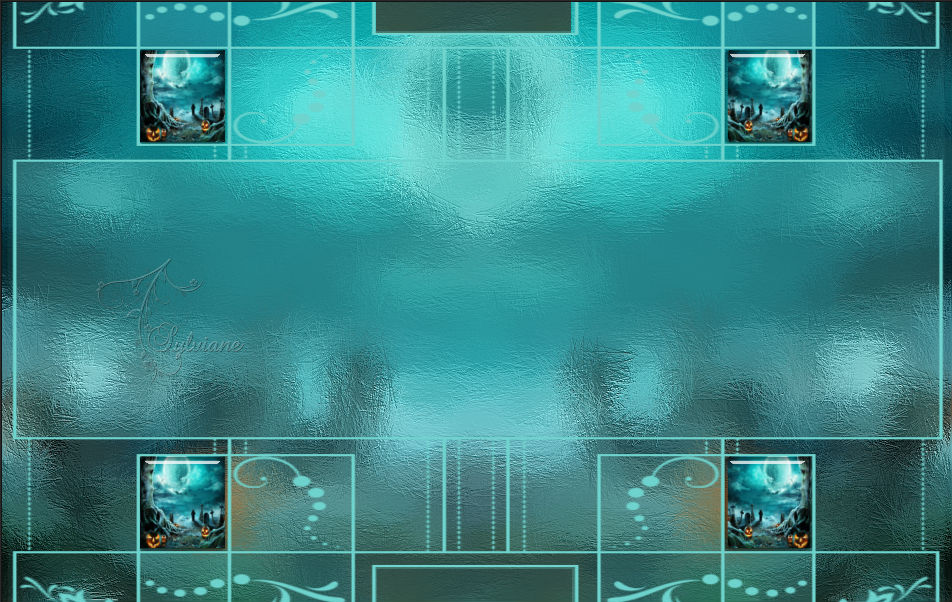
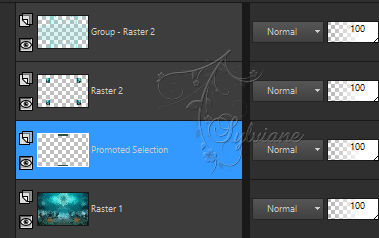
Always on this layer (Transformed selection)
Plugins - Carolaine and sensibility - CS-Texture
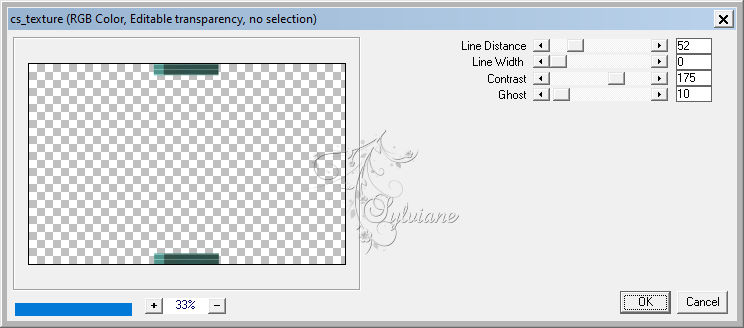
Layers - Duplicate
Image – Mirror - Horizontal Mirror
Layers - Merge - Merge Down
8
Activate Group - Raster 2
Activate Selection - Custom selection
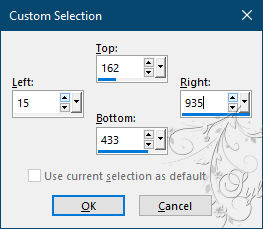
Edit ... Delete
Layers - New raster layer
Layers – arrange – move down
Selection - modify - contract – 15 pixels
Paint this selection with the background color
Selection - modify - contract – 3 pixels
Edit ... Delete
Keep the selection active
Open DECO PERSO 1 165 .png
Edit – Copy
Edit - Paste as new layer
Selections - Invert
Edit ... Delete
Selection - Select None
Color it in the same shade as the mask. You can use the selection attached to the material (Selection pour la déco 1) to color it
If you use this selection, don't forget to cancel it later
9
Now we have this
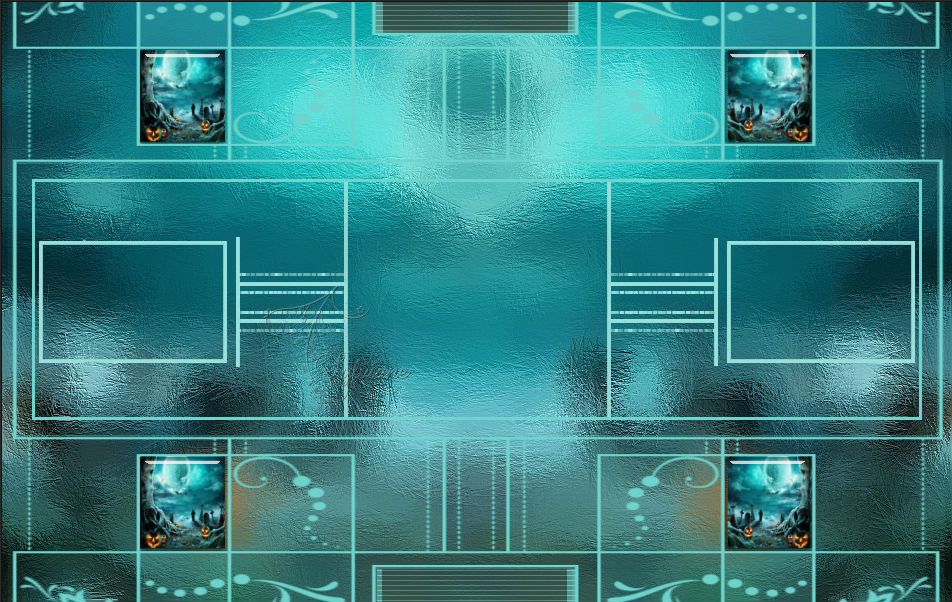
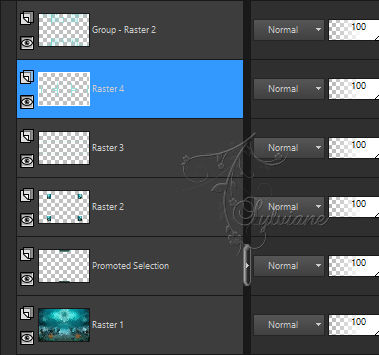
We are on Raster 4
Now activate the Selection tool (K on the keyboard), and slightly stretch the nodes, left and right
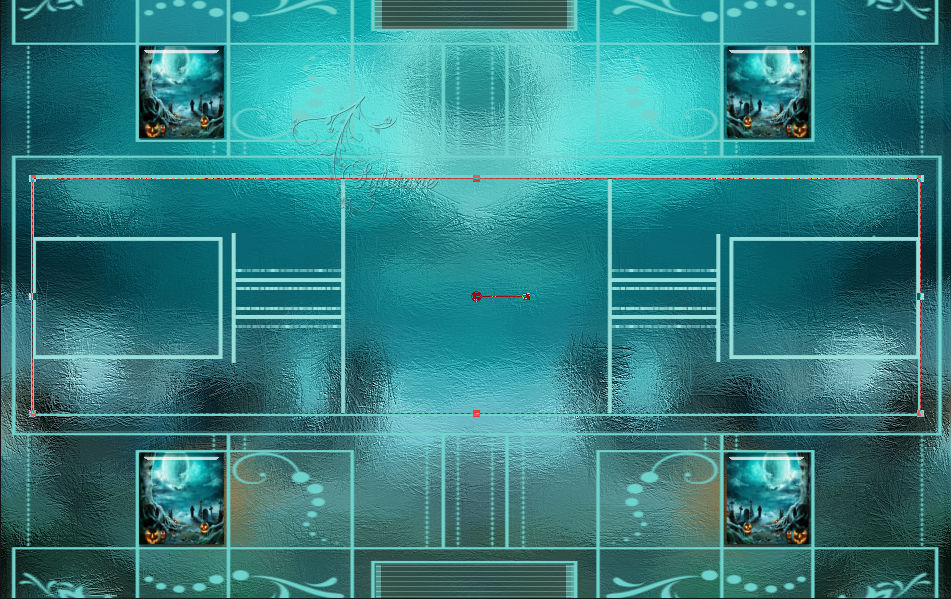
Turn off the Selection tool (M on keyboard)
Stay on Raster 4
10
Activate Selection - Custom selection
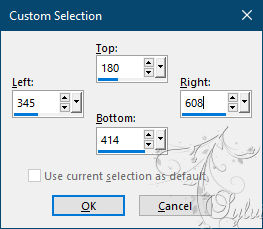
Selection - modify - contract – 15 pixels
Layers… New raster layer
Paint this selection with the background color
Selection - modify - contract – 3 pixels
Edit ... Delete
Layers… New raster layer
Layers – arrange – move down
Open 0ef99dca-a5d9-4932-b85d-116d29240df7.jpg
Edit – Copy
Edit - Paste into selection
Selections - Invert
Effects - 3 D effects - Drop shadow
0/0/80/40 – color:#000000
Selections - Invert
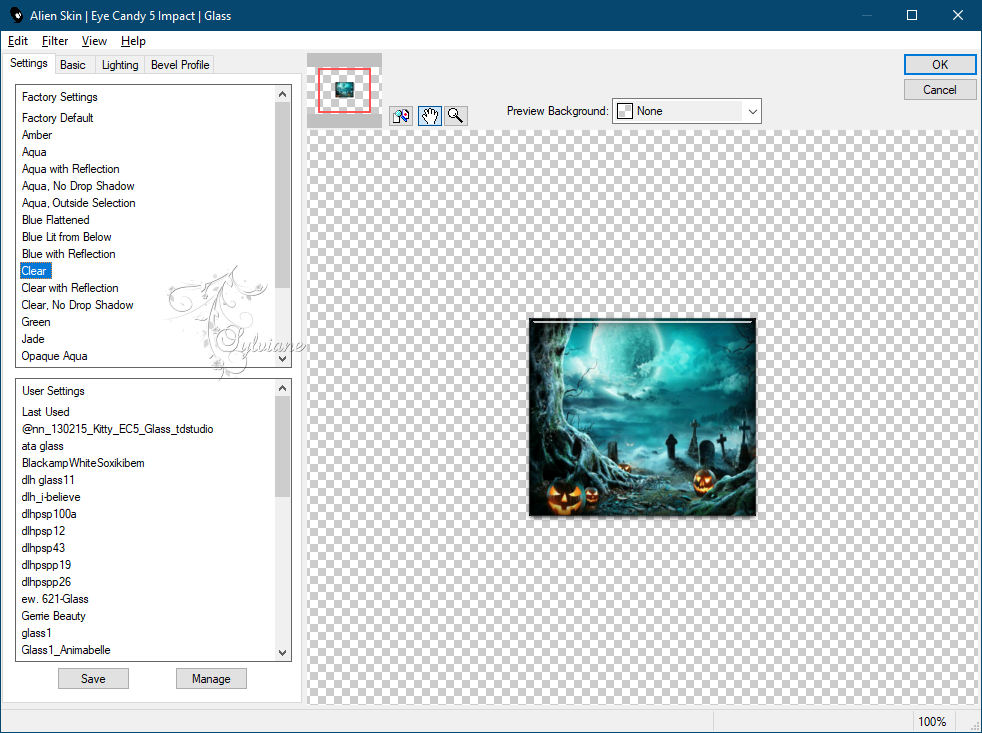
Plugin - Alien Skin - Eyes Candy 5 Impact… Glass (same settings as in step 5)
Selection - Select None
11.
We are here now:
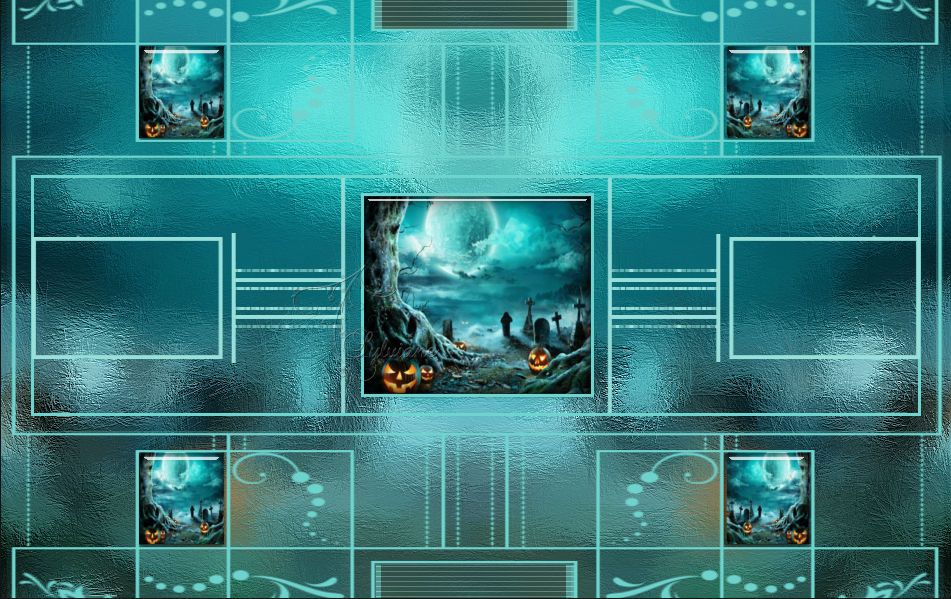
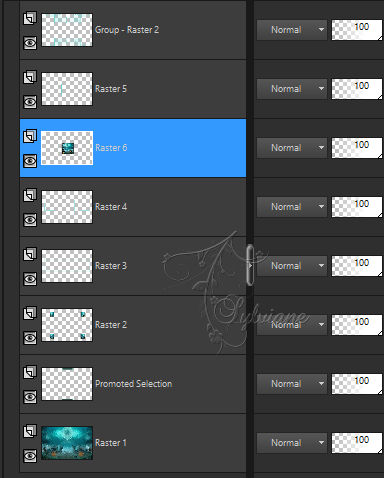
Activate Raster 5
Layers - Merge - Merge Down
Layers - Duplicate
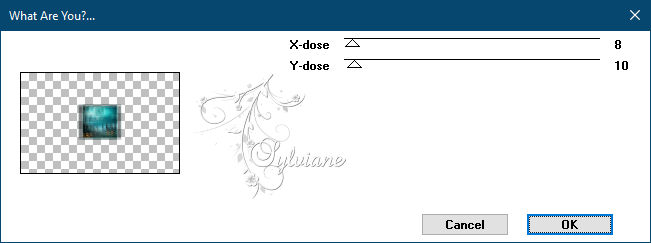
Plugin - Toadies - What Are You?
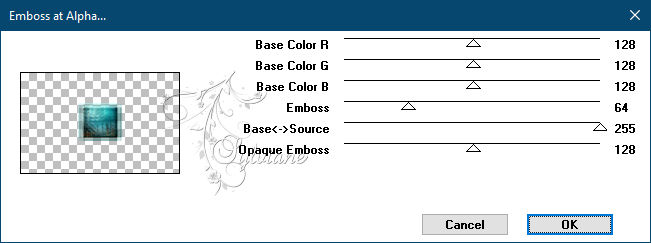
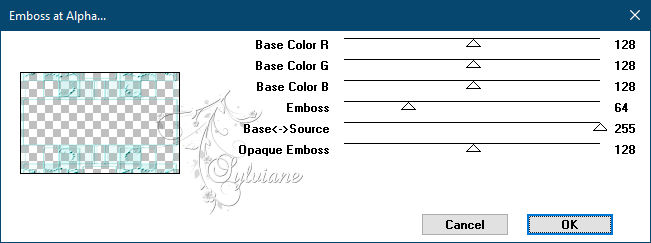
Plugin - MuRa’s Seamless - Emboss At Alpha
Layers – arrange – move down
Blendmode: Lighten, or another to your liking
12.
Activate Raster 4
Activate Selection - Custom selection
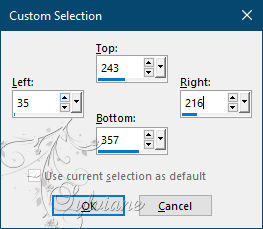
Layers - new raster layer
Layers – arrange – move down
Open 0ef99dca-a5d9-4932-b85d-116d29240df7.jpg
Edit – Copy
Edit - Paste into selection
Plugin - Alien Skin - Eye Candy 5 Impact… Glass
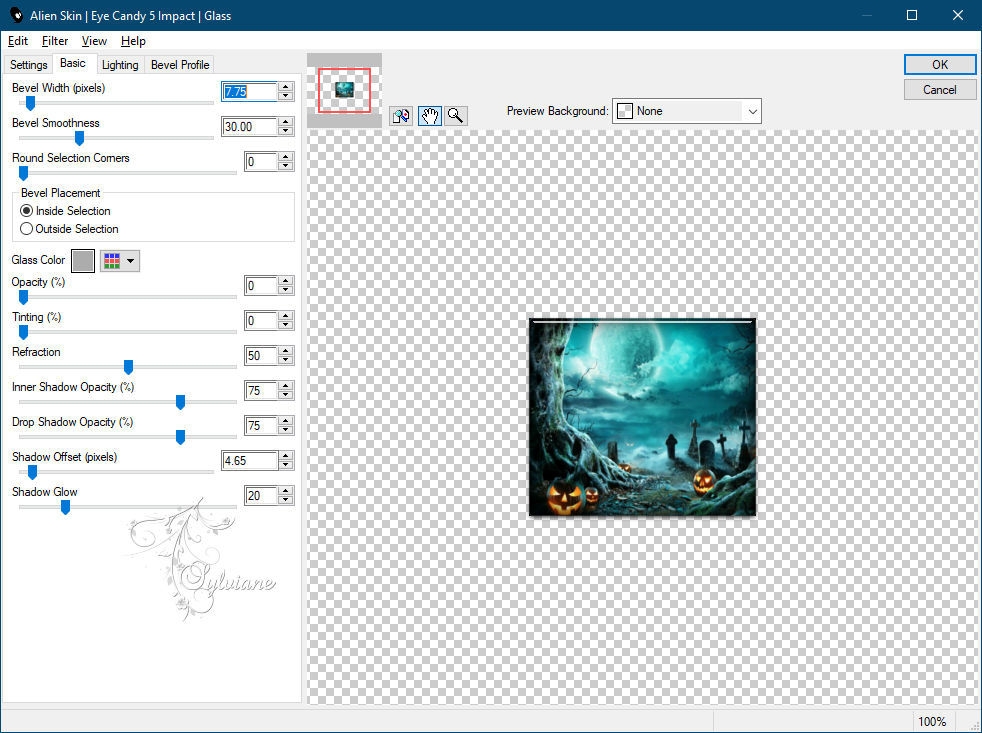
Selection - Select None
Effects – reflection effects – rotating mirror
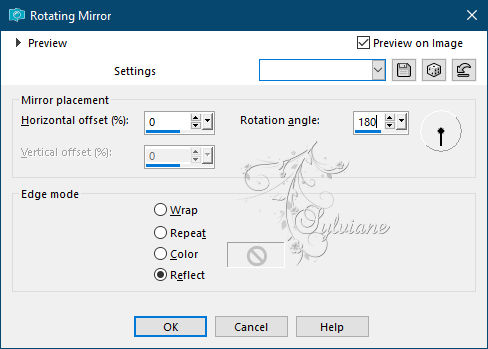
13
We are here now:

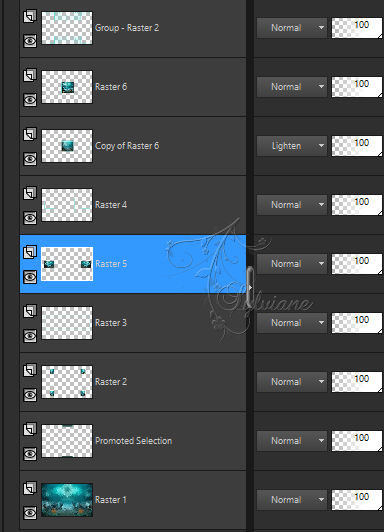
Activate Raster 3
Effects - 3 D effects - Drop shadow
(0/0/50/10 color:#000000
Activate Raster 1
Plugin - Carolaine and sensibility… CS-Halloween2
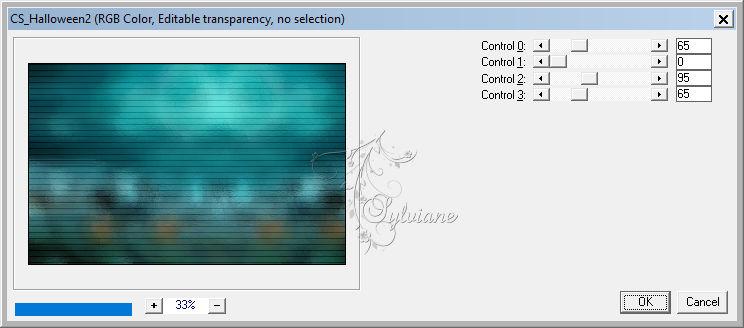
Activate Raster 4
Effects - 3 D effects - Drop shadow
(0/0/50/10 color:#000000
Activate Group - Raster 2
Plugins - MuRa's Seamless… Emboss At Alpha
Layers - Duplicate
Blendmode: Multiply or another to your liking
14
Image - Add Borders – Symmetric - 2 pix, in 1st or 2nd plane color
Selection - Select All
Image - Add Borders
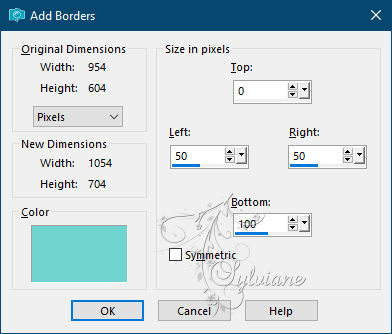
Edit - Copy
Selections - Invert
Edit - Paste into selection
Plugin - VM Toolbox - Zoom Blur
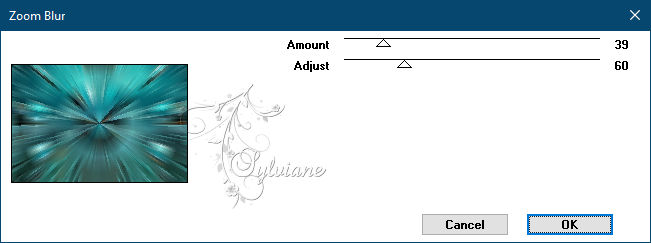
Keep the selection active
Layers… New raster layer
Edit - Paste into selection
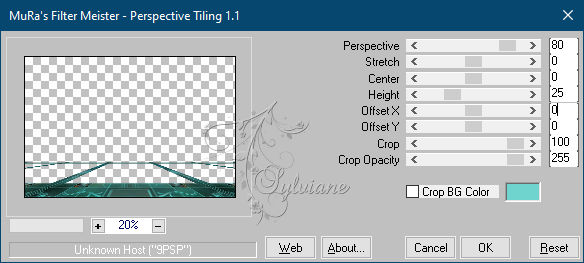
the image that you copied before
plugin - MuRa’S Meister - Perspective tiling
Effects - 3 D effects - Drop shadow
0/0/100/50 color:#000000
Selection - Select None
15.
We are on Raster 1
Activate Selection - Custom selection
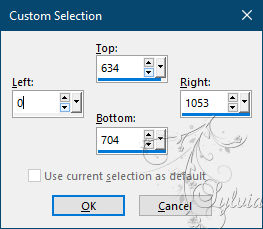
Selections – Promote selections to layer
Selection - Select None
Effects - Image Effects - Offset
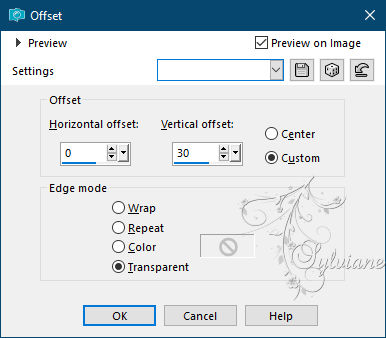
Layers – arrange – move down
Image - Add Borders – Symmetric - 2 pix, in 1st or 2nd plane
16.
Edit - Copy
Selection - Select All
Image - Add Borders – Symmetric - 20 pix - in any color
Selections - Invert
Edit - Paste into selection - the image that you copied before
Adjust - blur - gaussian blur (10)
Selection - Select None
Selections - Load / Save - Load selection from disk - SELECTION 4 165.PspSelection
Layers - New raster layer
Paint this selection, with the color of the 1st plane
Selection - Select None
Effects - 3 D effects - Drop shadow
0/0/100/50 color:#000000
17
Open OCTOBRE 2021 SORCIERE 2 03 10 SWEETY.png
Edit – Copy
Edit - Paste as new layer
Resize if necessary (Here it was done at 68%)
Image - Mirror – mirror Horizontal
Position it to your liking
Layers - Duplicate
Stand in the layer below
Adjust - blur - gaussian blur
Blur (20)
Blendmode: Multiply
Lower the layer's opacity to 60%
On a new layer, add the decorative tube, in this case, the bird
Resize if necessary (Here it was done at 70%)
Layers ... Duplicate
Situate yourself in the layer below
Adjust - blur - gaussian blur
Blur (20)
Blendmode: Multiply
18.
Image - Add Borders – Symmetric - 2 pix, in 1st or 2nd plane
On a new layer, add Sweety's watermark
Also add your signature or watermark, on a new layer
Layers… Merge… Merge All (Flatten)
Image… Resize, to 950 pixels wide
Save as JPEG
Back
Copyright Translation © 2021 by SvC-Design